
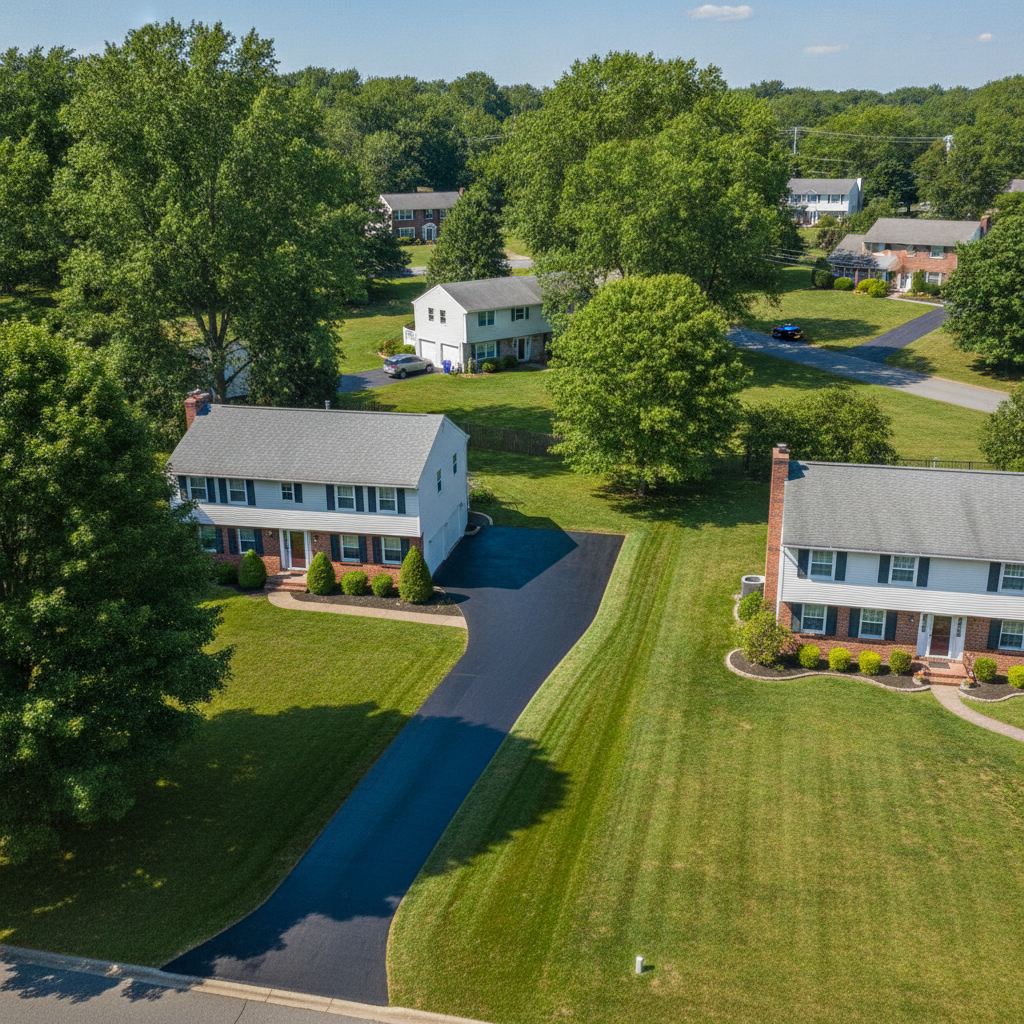
Your driveway takes a beating you rarely notice. Sun fades it, rain soaks into it, winter freeze and thaw cycles pry it apart, and every car that rolls across it adds a little more wear. Most homeowners only pay attention once cracks spread or the surface turns a chalky gray. By then, the easy fix is already off the table. That is exactly why asphalt sealcoating Mahwah NJ residents invest in every few years is one of the smartest, cheapest forms of pavement insurance available.
Sealcoating is a thin, protective layer applied to the top of cured asphalt. It will not fix a failing base or erase deep damage, but it shields the surface from the things that break pavement down in the first place: water, ultraviolet rays, oil, and road salt. This guide walks through the process from a homeowner’s point of view. You will learn what the product actually is, how a proper job is done, how to time it, what it costs you in effort and money, and when sealcoating is the wrong answer. Whether you just had a new driveway installed or you are staring at a ten-year-old surface and wondering what to do, you will leave with a clear plan.
What Sealcoating Actually Is
Asphalt is made of stone aggregate held together by a petroleum-based binder. Over time, the binder oxidizes and dries out, which is why an older driveway looks gray and feels rough. Sealcoat is a water-based emulsion of fine particles, polymers, and fillers that bonds to the surface and acts like a sunscreen and raincoat in one.
It is not paint, and it is not a structural repair. Think of it as a sacrificial layer. The coating wears away slowly instead of your pavement wearing away. A professional crew from All Around Asphalt can explain the difference between coal tar based and asphalt emulsion products and recommend the right fit for your property. The key point is that sealcoating works best as prevention, applied while the pavement is still sound, rather than as a last-ditch attempt to hide damage.
Why Northeast Weather Is Hard on Driveways
Anyone who lives in northern New Jersey knows the seasons are not gentle. Summer heat softens the surface, which makes it easier for tires to scuff and for oil to soak in. Autumn leaves hold moisture against the pavement. Winter brings the real trouble: water seeps into hairline cracks, freezes, expands, and pushes the cracks wider. Repeat that a few dozen times and a small flaw becomes a pothole.
Road salt and de-icing products add chemical stress, and spring runoff can wash away the fine material beneath weak spots. A sealed surface sheds water instead of absorbing it, which interrupts that freeze and thaw damage cycle. This is the practical reason sealcoating pays off in cold climates. You are not buying a cosmetic upgrade. You are blocking the single biggest enemy of asphalt, which is water finding its way underneath.
Signs Your Pavement Is Ready for a Coat
You do not need special tools to judge your driveway. Walk it on a dry day and look closely. A fresh surface is deep black. As it ages, it fades to dark gray, then light gray. Once you can see individual stones pushing through the top, the binder is wearing thin and protection is overdue.
- Color has faded from black to a washed-out gray
- Fine hairline cracks are starting to appear
- The surface feels rough or sheds loose gravel
- Oil stains from parked vehicles are soaking in
- Puddles linger after rain instead of draining off
If you see wide cracks, sunken areas, or interconnected cracking that resembles alligator skin, sealcoating alone will not solve the problem. Those conditions call for patching or resurfacing first, which a qualified Asphalt Sealcoating Mahwah NJ and paving team can assess during an on-site visit.
How a Proper Application Unfolds
A quality job is mostly preparation. The crew starts by clearing the surface of leaves, dirt, and debris with blowers and stiff brooms. Weeds growing through cracks are removed, and oil spots are treated with a primer so the coating can bond instead of sliding off a greasy patch.
Next, cracks are filled with a hot or cold pour rubberized filler. Skipping this step is the most common shortcut in the business, and it defeats the purpose, because a coat laid over open cracks lets water in anyway. Only after the surface is clean and the cracks are filled does the sealer go down, typically in two thin coats applied with a squeegee or spray rig rather than one thick pass. Thin coats cure evenly and resist peeling. Edges along the garage, curbs, and lawn are cut in by hand for a neat finish.
Timing, Temperature, and Cure Windows
Sealer is picky about weather. It needs dry conditions, moderate temperatures, and a full day or more without rain to cure properly. In this region, that usually means a window from late spring through early fall. Applying it when overnight temperatures dip near freezing can leave the coating soft, blotchy, or prone to early failure.
Plan around your own schedule too. Expect to keep cars off the surface for roughly 24 to 48 hours, sometimes longer in humid or shaded conditions. Park on the street or at a neighbor’s driveway ahead of time, and let family members know so no one tracks footprints across wet sealer. Heavy trucks and delivery vehicles should stay off for a few days. A reputable contractor will give you a specific reopening time based on conditions that day, and the Asphalt Paving Contractor in Mahwah, NJ you hire should be upfront about when weather could force a reschedule.
How Often You Should Reseal
There is no single schedule that fits every driveway, but a widely used rule of thumb is to wait about six months to a year after new paving so the surface can fully cure, then reseal every two to three years. Driveways with heavy shade, steep slopes, or frequent vehicle traffic may need attention a little sooner. Sun-baked, low-traffic drives can stretch the interval.
Resealing too often is a real mistake. Stacking layers builds a brittle skin that cracks and flakes, which looks worse than the original wear. Resealing too rarely lets oxidation eat into the binder. The honest approach is to inspect your driveway each spring, note how it looks and feels, and call for an estimate when the color has dulled and small cracks appear. A good contractor will tell you to wait if your pavement does not need work yet, and that candor is worth more than any discount.
Sealcoating Versus Repair Versus Replacement
Homeowners often ask which option makes sense. The answer depends on the condition of the pavement, not on a sales pitch. This table lays out the general differences so you can compare them side by side.
| Option | Best For | Relative Cost | Typical Disruption |
|---|---|---|---|
| Sealcoating | Sound pavement with light wear | Lowest | One to two days off the surface |
| Crack Filling and Patching | Isolated cracks or small damaged areas | Low to moderate | A few hours to a day |
| Overlay or Resurfacing | Widespread surface wear on a solid base | Moderate to high | One to three days |
| Full Replacement | Failed base, deep cracking, severe settling | Highest | Several days |
Protecting Curb Appeal and Property Value
A driveway frames the first impression of your home. Fresh black pavement makes lawns look greener, brick look warmer, and landscaping look sharper. Buyers and appraisers notice a well-kept approach even if they cannot say why a property feels cared for. A faded, cracked driveway quietly signals deferred maintenance, which makes people wonder what else was neglected.
That visual lift is a bonus rather than the main event, but it matters if you plan to list your home within a few years. Sealing before photos are taken is an inexpensive way to polish the exterior. For more on the visual side of the equation, the article Improve Curb Appeal with Asphalt Sealcoating in Mahwah NJ covers how a clean, uniform surface changes the look of an entire property.
DIY Kits Versus Hiring a Crew
Big-box stores sell buckets of sealer, and plenty of homeowners try it themselves on a weekend. It can work on a small, well-prepared surface, but the pitfalls are real. Consumer products are often thinner than commercial formulas, so you may need more coats for less protection. Uneven application leaves streaks and puddled thick spots that crack later. Cleaning and crack filling take far more time than most people expect, and skipping them ruins the result.
Professionals bring commercial-grade material, spray or squeegee equipment, and the experience to read weather and surface conditions. They also carry insurance, which protects you if a splash lands on a neighbor’s car or garage door. If you enjoy hands-on projects and have a short, simple driveway, a DIY attempt is reasonable. For longer or sloped drives, the labor and risk usually tip the balance toward hiring it out.
Questions to Ask Before You Sign
A few direct questions separate careful contractors from corner-cutters. Ask what product they use and how many coats they apply. Ask whether crack filling and oil spot treatment are included in the quote or billed separately. Request proof of liability insurance and a written estimate that lists the square footage, materials, and cure instructions.
- How will you prepare and clean the surface before coating?
- What happens if rain interrupts the job or the cure window?
- How long until we can walk, drive, and park on it?
- Do you stand behind your work if it peels or flakes early?
Be wary of door-to-door crews who show up unannounced with a leftover batch of material and an unbelievable price. Local references, a real address, and a willingness to answer questions are better indicators than a low number on a quote.
Everyday Habits That Stretch the Life of a Seal
What you do after the crew leaves matters as much as what they did. Wipe up fluid leaks quickly, since motor oil, gasoline, and brake fluid can soften sealer and leave dull patches. Keep a mat or a piece of cardboard under any vehicle that drips. Avoid parking a motorcycle kickstand or a heavy trailer jack on one spot during hot weather, because concentrated weight can dent a fresh surface.
Sweep leaves and debris away in the fall so they do not trap moisture. Keep sprinklers aimed at the lawn rather than the pavement, and trim back overhanging branches that drop sap. When winter arrives, use a plastic shovel blade instead of a sharp metal edge, and choose de-icers labeled safe for asphalt. These small habits add up to a surface that stays dark, smooth, and sealed noticeably longer.
Bringing It Together
Sealcoating is not glamorous, but it is one of the most cost-effective things a homeowner can do for the pavement they already own. It slows oxidation, keeps water from working its way beneath the surface, resists oil and salt, and refreshes the look of your property in a day or two. Paired with timely crack filling and a sensible resealing schedule, it can push back major repairs by years.
The best results come from honest assessment and good timing. Inspect your driveway each spring. Look for fading, roughness, and hairline cracks. Seal while the pavement is still solid, not after it has started to crumble. Choose a contractor who prepares the surface properly, explains the process plainly, and tells you when to wait. Respect the cure window, keep fluids off the surface, and avoid the temptation to over-apply.
If your driveway is showing its age, a short conversation with a local professional and a simple on-site inspection will tell you whether you need a coat, a repair, or a bigger plan. Either way, you will have the knowledge to make the call with confidence, protect your investment, and keep your driveway looking sharp through every season ahead.